

Brand Repair Guide
LiftMaster Garage Door Repair: What Breaks, What It Costs, Charlotte 2026
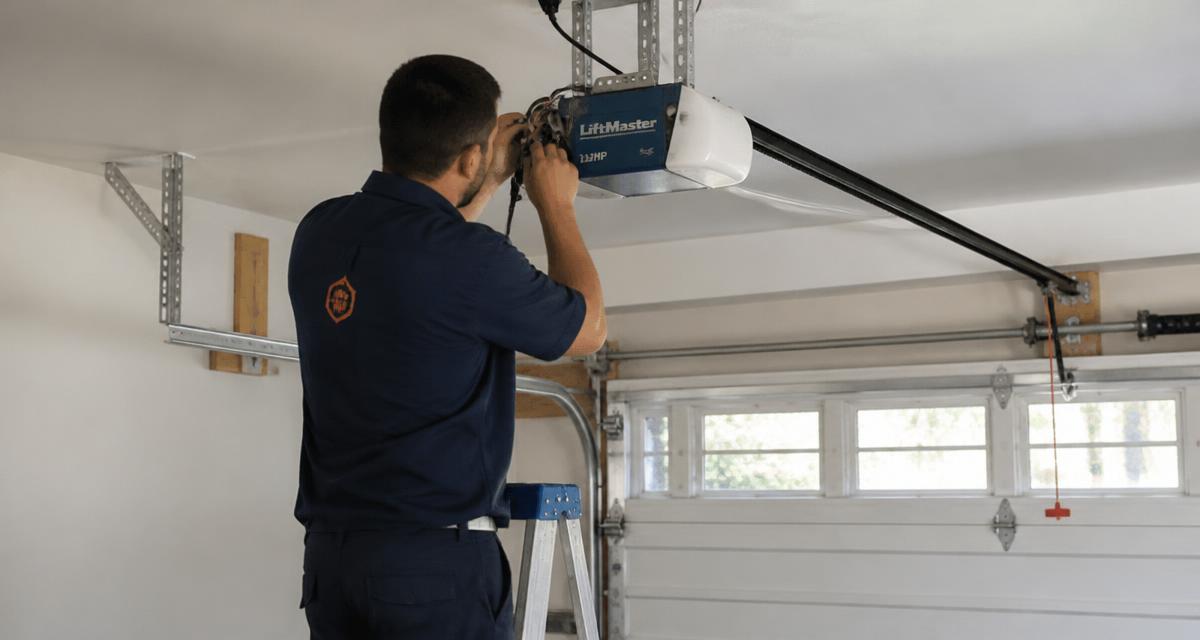
LiftMaster is the opener we see on more Charlotte-area garages than every other brand combined. It's the professional dealer line — the units builders install and the ones we install ourselves — and they're genuinely durable. But they're still machines with nylon gears, capacitors, circuit boards, and infrared sensors, and after a decade of Carolina heat, humidity, and summer thunderstorms, those parts fail in fairly predictable ways.
TL;DR
Most LiftMaster failures fall into five buckets: safety sensors, stripped drive gear, logic board, capacitor, and remote programming drift. Read the blink code on the motor head first — one to four blinks are usually homeowner-fixable, five or six mean the motor or board needs service. Repairs run roughly $95–$350; a full unit replacement runs $500–$900 installed.
Most common LiftMaster problems
Logic board / circuit board failure
The logic board is the brain: it validates remote codes, runs the travel limits, and drives the relay. Charlotte's summer storm season is the biggest killer here — a nearby strike or a brownout spikes the board even through a surge protector. Symptoms: the opener does nothing at all with power confirmed at the outlet, the LED blinks six times, the unit responds to the wall button but no remote will pair, or it operates randomly on its own. Board replacement typically runs $200–$350 installed.
Motor gear stripping
The most frequent mechanical failure on 8–15 year old chain drives. A nylon worm gear inside the motor head wears until it no longer engages. The motor runs, you hear grinding or a high whirring, and the door doesn't budge. Sometimes plastic shavings drop out of the housing. A gear and sprocket kit is cheap; the labor is in pulling the head down and reassembling it correctly — $150–$275 installed.
Worth knowing: gears often strip early because the door is heavy, not because the opener is weak. If your springs are worn or undersized, the opener fights the door on every cycle. We check spring balance on every gear job for exactly that reason — see what causes springs to break.
Safety sensor misalignment
The single most common service call, and often the cheapest. The photo eyes sit about six inches off the floor on each track. Bump one with a trash can, let a spider build a web across a lens, or let afternoon sun hit the receiver at the wrong angle, and the door refuses to close — usually reversing immediately and flashing the opener lights ten times. The blink code on the motor head tells you whether it's alignment (four blinks) or wiring (one to three blinks).
Remote and keypad programming drift
Remotes lose pairing after board resets and surges, and keypads drift out of sync as their batteries weaken. LiftMaster's Learn button color tells you the security generation — purple and yellow are Security+ 2.0, orange/red is Security+, green is Billion Code — and a mismatched replacement remote will never pair no matter how many times you try. Full instructions per generation are in how to program a garage door opener & remote, and remote not working covers diagnosis.
Belt vs. chain wear by LiftMaster model line
- Chain drive (8155, 8160W and similar). Chains stretch. A chain sagging more than about half an inch below the rail slaps on every cycle and accelerates sprocket wear. Re-tensioning is a quick service item.
- Belt drive (8355W, 8550W, 87504 and similar). Reinforced rubber belts rarely fail outright, but the trolley and rail bearings do wear. Belt units are the right choice for a garage under a bedroom — see belt vs. chain drive.
- Wall-mount jackshaft (8500W, 87504-267). Mounts beside the torsion shaft, frees the ceiling, and carries its own cable-tension monitor. Failures here are usually the tension sensor or the integrated deadbolt lock, not the motor.
- DC vs. AC motors. Newer DC units soft-start and soft-stop, which meaningfully reduces gear and hardware wear compared with older AC chain drives.
LiftMaster error & blink code cheat sheet
Count the blinks on the LED next to the Learn button on the motor head. This is the fastest diagnostic you can run yourself.
| Code | Likely cause | Fix | DIY? |
|---|---|---|---|
| 1 blink | Sensor wires open, shorted, or reversed | Check wiring at both sensors and the motor head | Yes |
| 2 blinks | Sensor wire shorted or broken conductor | Inspect for staple pinches and rodent damage | Yes |
| 3 blinks | Wall control wire shorted | Disconnect the console and test | Yes |
| 4 blinks | Sensors misaligned or obstructed | Clean lenses and realign until the LED is steady | Yes |
| 5 blinks | RPM sensor or motor fault | Motor head service | No |
| 6 blinks | Logic board failure | Board replacement | No |
| Steady + no response | Lockout mode engaged on the wall console | Hold the Lock button 2 seconds | Yes |
Separately: if the opener lights flash ten times when you press close, that's the sensor circuit refusing the command — start with lens cleaning and alignment.
LiftMaster repair costs in Charlotte
| Repair | Typical installed cost |
|---|---|
| Safety sensor realignment / replacement | $95 – $175 |
| Wall console or low-voltage wiring repair | $110 – $200 |
| Gear & sprocket kit (stripped drive gear) | $150 – $275 |
| Start capacitor replacement | $130 – $220 |
| Logic board replacement | $200 – $350 |
| Chain / belt replacement or re-tension | $120 – $250 |
| Full LiftMaster unit replacement (installed) | $500 – $900 |
Ranges reflect typical Charlotte-metro residential work and vary with horsepower, access, and whether genuine LiftMaster parts are required for warranty. We quote flat-rate in writing before starting — see the full pricing guide.
Repair vs. replace a LiftMaster unit
- Under 8 years: repair, nearly always. Parts are available and the remaining service life justifies it.
- 8–12 years: repair if the fix is under about $250. Above that, compare against a new unit.
- Over 12 years: replace when a board, motor, or multiple parts are involved. You're otherwise putting new parts into a unit near the end of its cycle life.
- Pre-1993 with no photo eyes: replace regardless. Those units predate UL 325 auto-reverse requirements.
- Green Learn button (pre-1997): replace. Fixed-code security can be captured and replayed from the street.
The upgrade driver most homeowners actually care about is myQ: app open/close, alerts when the door is left open, timed auto-close, and in-garage delivery. Add battery backup — genuinely useful during Carolina storm outages — and a modern unit often justifies itself over a $300 board on a tired motor. Opener installation costs breaks down the numbers.
DIY-safe LiftMaster fixes vs. when to call us
Safe to try yourself
- Cleaning and realigning safety sensors
- Turning off wall-console lockout mode
- Replacing remote batteries and reprogramming
- Swapping LED bulbs that jam remote range
- Straightening the antenna wire
- Resetting the breaker / GFCI outlet
- Tightening rail hangers and lubricating the chain
Call a technician
- Any five- or six-blink fault code
- Gear kit or motor head disassembly
- Logic board or capacitor replacement
- Travel and force limit adjustment on a heavy door
- Anything involving spring tension or cables
- Door binding, off track, or crooked
- Hardwiring, conduit, or a dead circuit
Capacitors hold a charge after the opener is unplugged, and travel-limit adjustments on a heavy door can defeat the auto-reverse safety. Those two jobs specifically are worth handing off.
Frequently asked questions
What do the blinking lights on my LiftMaster opener mean?
LiftMaster uses a blink code on the motor unit LED to report faults. One blink means the safety sensor wires are open, shorted, or reversed. Two blinks means the sensor wire is shorted or has a broken conductor. Four blinks means the sensors are misaligned or something is blocking the beam. Five blinks points to an RPM sensor or motor fault. Six blinks indicates a logic board failure. One through four are commonly homeowner-fixable; five and six need a technician.
Why does my LiftMaster motor run but the door doesn't move?
That's the classic stripped drive gear. The nylon worm gear inside the motor head wears down and stops engaging, so the motor spins freely while the trolley stays put. You'll usually hear a grinding or whirring sound. A gear and sprocket kit is inexpensive, but the motor head has to come down and be partially disassembled to install it.
How much does LiftMaster garage door opener repair cost in Charlotte?
Sensor realignment typically runs $95–$175, a gear and sprocket kit $150–$275, a wall console or wiring repair $110–$200, a capacitor $130–$220, and a logic board replacement $200–$350 installed. A full LiftMaster unit replacement generally runs $500–$900 depending on horsepower, drive type, and features.
How long does a LiftMaster garage door opener last?
10 to 15 years, or roughly 15,000 to 20,000 cycles. Drive gears and capacitors typically fail first; logic boards often go after a power surge. Once a LiftMaster is past 12 years and facing a repair over about $250, replacement usually gives better value plus Security+ 2.0 rolling code, battery backup, and myQ app control.
Can I fix a LiftMaster safety sensor myself?
Usually yes. Wipe both lenses, confirm nothing is blocking the beam, then loosen the wing nut on each bracket and adjust until the receiving eye's indicator LED glows steady rather than flickering. If the LED stays off entirely with the wiring intact, the sensor pair or the wire run has failed and should be replaced.
Is LiftMaster the same as Chamberlain?
They are made by the same parent company and share much of their internal design and accessory ecosystem. LiftMaster is the professional dealer line with heavier-duty components and longer warranties; Chamberlain is the retail line. Remotes and rails are often cross-compatible, but replacement logic boards and warranty coverage are not interchangeable.
Do I need a LiftMaster-certified technician for warranty repairs?
For warranty parts claims, work generally needs to be performed by an authorized dealer with genuine LiftMaster parts. We service LiftMaster daily and stock genuine gear kits, sensors, boards, and remotes on the truck so most repairs finish in a single visit.
Related reading
- How to program a garage door opener & remote
- Opener repair guide (Charlotte)
- Genie opener repair & costs
- Chamberlain opener repair guide
- How do garage door openers work?
Book a LiftMaster diagnostic
We service LiftMaster daily and carry genuine gear kits, sensors, boards, and remotes on the truck, so most repairs finish in one visit. Flat-rate written pricing before any work starts — same-day across Charlotte and the Carolinas.
Ready to fix it?
We are a LiftMaster-stocked shop — parts on the truck, repairs finished the same visit.
- Opener repairLogic boards, gears, sensors and remotes fixed on site.
- New opener installationLiftMaster belt-drive openers installed and programmed.